


Introduction
Images play a vital role in website performance, user experience, and search engine rankings. High-quality visuals make content more engaging and accessible, but if not properly optimised, they can significantly slow down your website. Slow-loading pages frustrate visitors, leading to higher bounce rates and lower conversion rates. Additionally, unoptimised images consume more server resources, affecting website performance and increasing hosting costs.
Optimised images enhance page speed, making your site more user-friendly and search-engine-friendly. Google prioritizes fast-loading websites, and properly optimised images contribute to better rankings. Furthermore, image optimisation reduces bandwidth consumption, ensuring faster browsing experiences for users, especially on mobile devices. Implementing the right optimisation techniques ensures your website remains visually appealing while performing at its best.
Optimised images help:
- Improve page load speed
- Enhance SEO rankings
- Reduce server load
- Provide a better user experience
Google prioritizes fast-loading websites, and image optimization is a key factor in achieving this. ITxITPro recommends following best practices to maintain high-quality visuals without compromising speed.
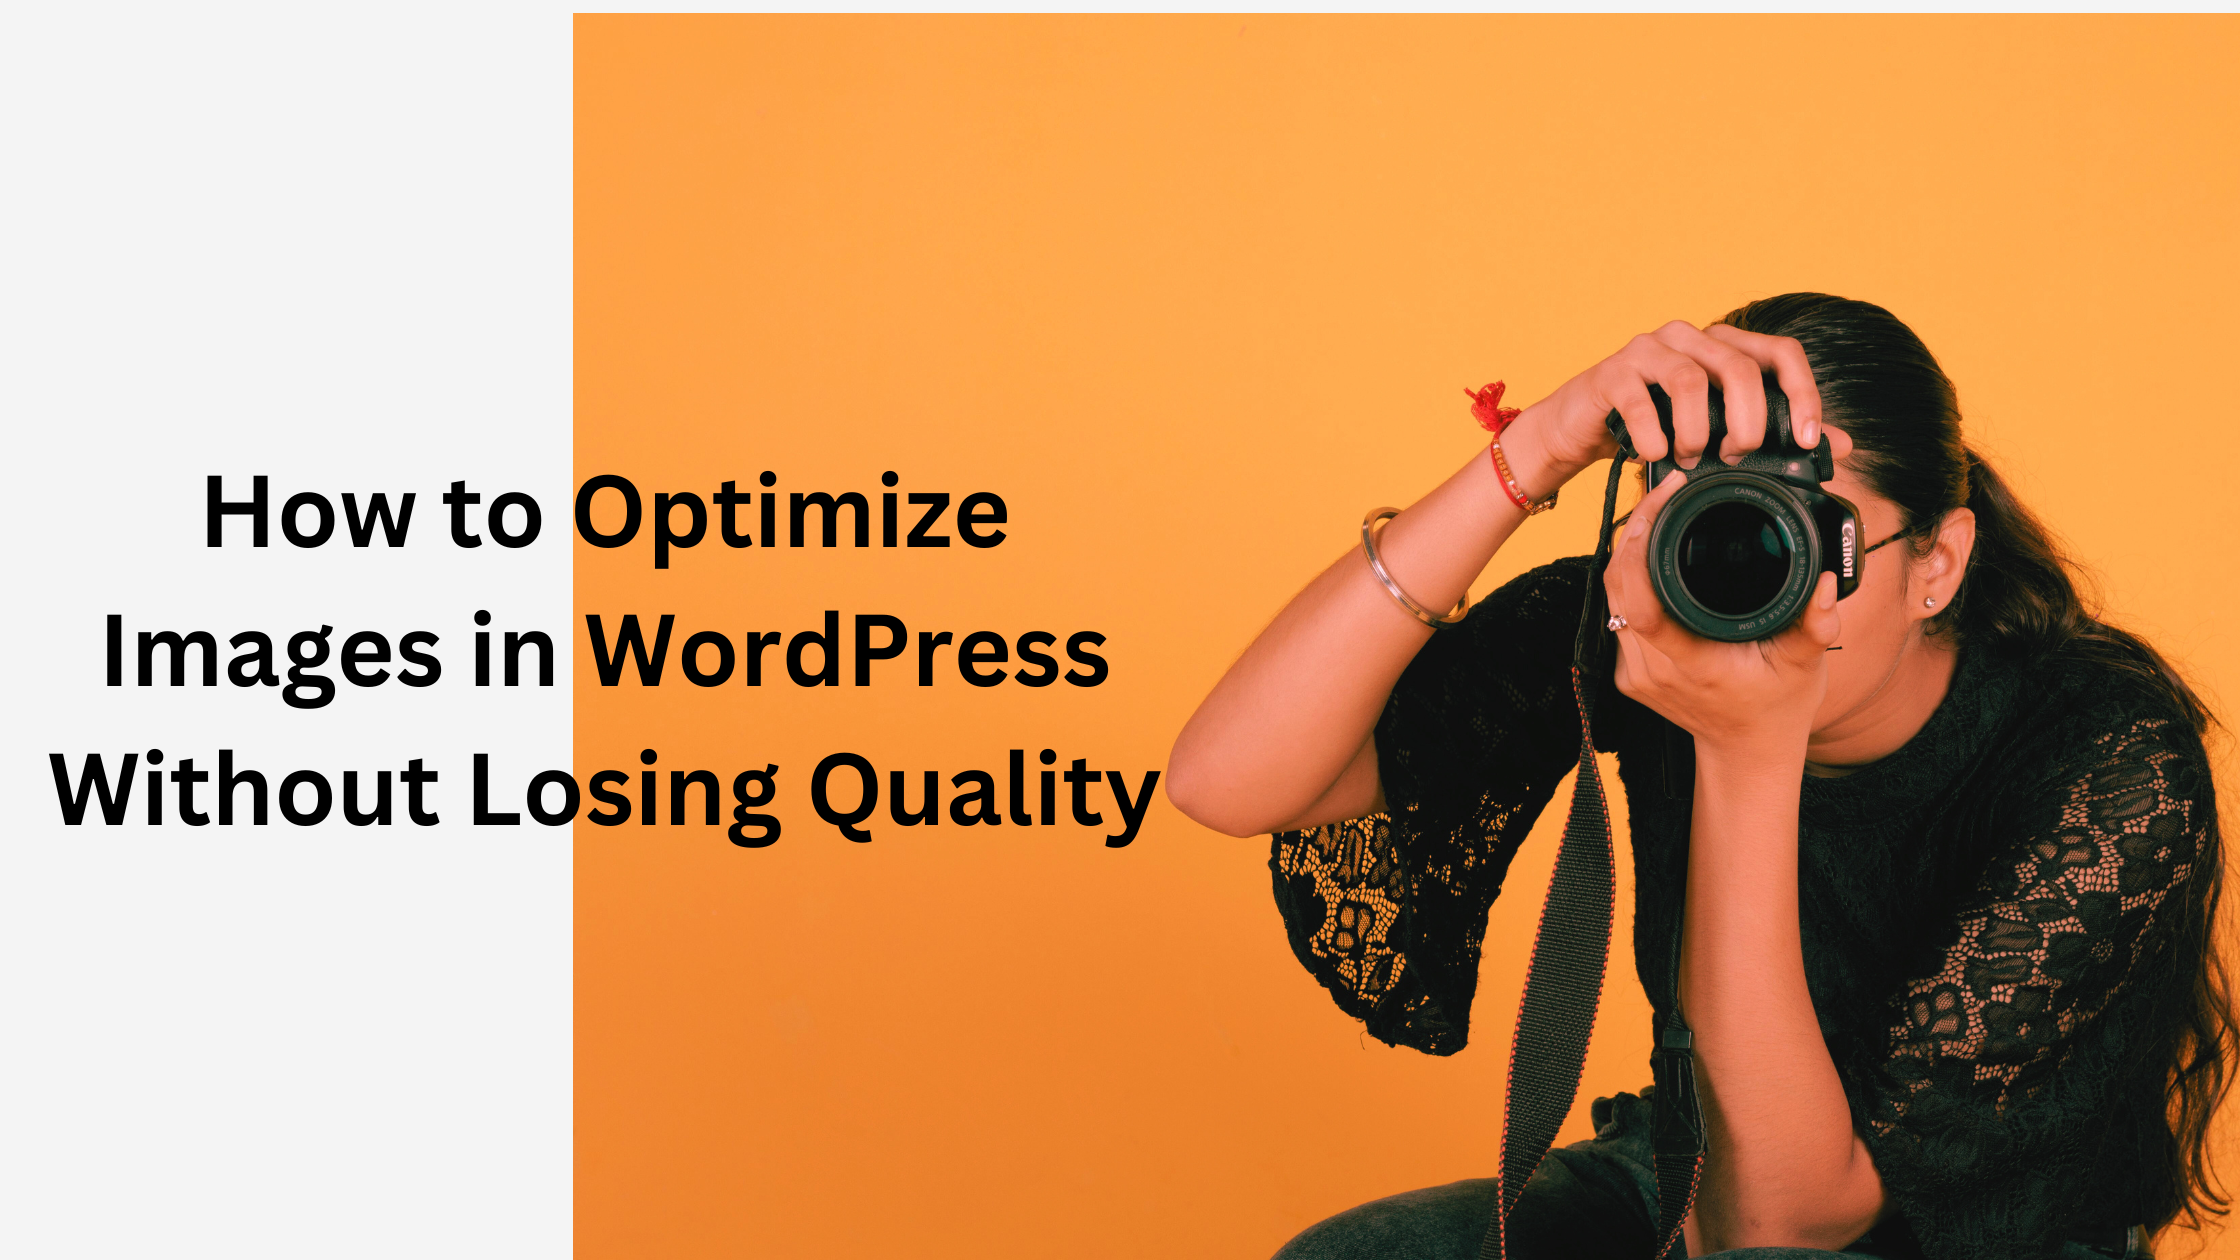
How to Optimize Images in WordPress Without Losing Quality
Properly optimising images involves reducing file sizes without affecting their visual clarity. This process not only enhances website speed but also ensures an improved user experience and better search engine rankings. By implementing the right optimisation techniques, you can significantly reduce the load on your server while maintaining high-quality visuals that engage your audience.
Here’s how you can achieve this:
1. Choose the Right Image Format
Not all image formats are created equal. Selecting the appropriate format ensures balance between quality and size, impacting website speed and performance. Some formats are better suited for photographs, while others work best for logos or icons. Understanding the differences between these formats allows you to make informed decisions that enhance your site’s loading speed without compromising on visual clarity. The right image format can also improve SEO, ensuring your content ranks higher in search engine results and provides an optimal user experience.
- JPEG – Best for photographs with rich colors and gradients.
- PNG – Ideal for images requiring transparency.
- WebP – Modern format with superior compression and quality.
- SVG – Vector format perfect for logos and icons.
Switching to WebP format can significantly reduce file size while maintaining excellent quality. WordPress now supports WebP natively, making it easier than ever to implement.
2. Resize Images Before Uploading
Uploading unnecessarily large images consumes bandwidth and slows down your site. Large images increase load times, leading to a poor user experience and lower search rankings. By resizing images to the required dimensions before uploading, you can prevent unnecessary strain on your website and improve performance. This is especially important for mobile users, where loading speed plays a crucial role in engagement and retention. Use tools like:
- Adobe Photoshop
- GIMP
- TinyPNG
- Canva
For example, if your theme displays images at a maximum width of 1200px, there’s no need to upload a 4000px-wide image.
3. Compress Images Without Losing Quality
Compression is essential for reducing file size while preserving image quality. When images are too large, they slow down website performance, negatively affecting SEO and user experience. Two types of compression exist:
- Lossless Compression – Reduces size without affecting quality.
- Lossy Compression – Achieves higher compression but may slightly reduce quality.
Recommended tools:
- Smush – Automates image optimization in WordPress.
- ShortPixel – Offers both lossy and lossless compression.
- Imagify – Provides real-time compression and WebP conversion.
4. Enable Lazy Loading
Lazy loading defers the loading of images until they are needed, significantly improving page speed and reducing initial load times. Instead of loading all images at once, lazy loading ensures that only the images visible to the user are loaded first. This technique not only enhances performance but also conserves bandwidth, especially for mobile users on limited data plans. Additionally, lazy loading contributes to better SEO by improving Core Web Vitals, which Google considers an essential ranking factor. Websites that implement lazy loading effectively experience reduced bounce rates and higher user engagement.
To enable lazy loading in WordPress:
- Use the built-in lazy loading feature (available from WordPress 5.5+).
- Install plugins like WP Rocket or a3 Lazy Load.
5. Optimize Image Delivery with a CDN
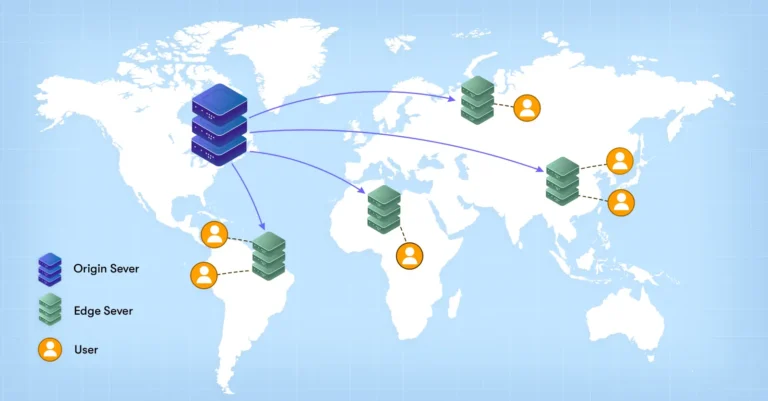
A Content Delivery Network (CDN) helps serve images faster by distributing them across multiple global servers. When a visitor accesses your website, the CDN delivers images from the server closest to their location, reducing latency and speeding up load times. This is particularly beneficial for websites with international traffic, as it ensures consistent performance across different regions. Additionally, CDNs help reduce bandwidth usage, lower server load, and improve overall website reliability by minimizing downtime and preventing slow load times during traffic spikes.
Top CDNs for WordPress:
- Cloudflare
- BunnyCDN
- KeyCDN
- StackPath
6. Use an Image Optimization Plugin
Several WordPress plugins automate image optimization without manual intervention, saving time and ensuring consistent performance improvements across your website. These plugins handle compression, format conversion, and lazy loading automatically, reducing the need for manual adjustments. They integrate seamlessly with WordPress, optimizing images in bulk and ensuring new uploads are compressed and resized efficiently. Many of these plugins also support next-gen formats like WebP, which improves load speeds without sacrificing quality. By leveraging an image optimization plugin, website owners can significantly enhance performance while maintaining high-resolution visuals that engage visitors and improve SEO rankings.
Best plugins include:
- Smush
- EWWW Image Optimizer
- ShortPixel
- Imagify
7. Implement Next-Gen Formats Like WebP
Google recommends WebP for its superior compression and quality retention. This format reduces file sizes by up to 30% compared to JPEG and PNG without losing visual clarity. Many WordPress image optimization plugins, such as ShortPixel and Imagify, provide automatic WebP conversion, making it effortless to adopt this next-gen format. Additionally, using WebP enhances Core Web Vitals, improving your website’s overall performance and SEO ranking. With WordPress now supporting WebP natively, integrating this format is a simple yet effective way to optimize your site’s images without sacrificing quality.
8. Remove Unused Images
Unused images take up valuable server space, slow down backups, and clutter your WordPress media library, making it harder to manage files efficiently. Over time, outdated or duplicate images accumulate, impacting website performance and storage costs. Regularly cleaning your media library ensures that only essential files remain, leading to a streamlined and faster website. Use plugins like Media Cleaner to automate the process, safely detect unused images, and remove them with ease. Additionally, backing up your media library before deletion is recommended to prevent accidental loss of important files.
9. Use CSS Sprites for Icons and Small Images
Combining multiple small images into a single file reduces HTTP requests, thereby improving website speed and performance. CSS Sprites help achieve this efficiently by merging icons, buttons, and background images into a single image file. This technique minimizes the number of server requests, reducing load times and enhancing overall site responsiveness. By using CSS background positioning, individual images within the sprite can be displayed as needed without requiring additional HTTP requests. Implementing CSS Sprites is particularly beneficial for sites with multiple small images, such as eCommerce platforms and navigation menus, where every millisecond of load time matters for user experience and SEO.
10. Optimize Thumbnails and Featured Images
WordPress automatically generates multiple image sizes to ensure compatibility with various screen sizes and layouts. However, this can lead to unnecessary storage usage, slowing down backups and consuming server resources. To prevent this, you can limit unused sizes by modifying the functions.php file or using a plugin like Regenerate Thumbnails. Additionally, regularly auditing your media library to remove redundant images can further enhance website performance and efficiency. By keeping only the necessary image sizes, you improve loading times and reduce overall clutter in your WordPress installation.
Final Thoughts
Optimizing images in WordPress is essential for faster loading times, improved SEO, and a better user experience. By implementing these techniques—choosing the right format, compressing images, using lazy loading, and leveraging a CDN—you can ensure high-quality visuals without compromising performance. A well-optimized website not only ranks higher on search engines but also provides a seamless user experience, keeping visitors engaged and reducing bounce rates. Additionally, optimized images contribute to improved Core Web Vitals, a crucial factor in Google’s ranking algorithm. By adopting these strategies, you can enhance your website’s speed, boost organic traffic, and maintain visually appealing content that loads quickly across all devices.
ITxITPro recommends integrating these strategies into your workflow to maintain an efficient, visually appealing website. Start optimizing today and watch your site’s speed and rankings improve
FAQs
1. Why is image optimization important for WordPress websites?
Image optimization improves website speed, enhances user experience, and boosts SEO rankings by reducing page load times without compromising quality.
2. What is the best way to optimize images without losing quality?
You can use image compression tools like TinyPNG, ShortPixel, or Smush, which reduce file size while maintaining image clarity.
3. Which image formats are best for WordPress?
JPEG is best for photos, PNG for images with transparency, and WebP for better compression and faster loading times.
4. Can I optimize images manually without using a plugin?
Yes, you can compress images using tools like Photoshop, TinyPNG, or Squoosh before uploading them to WordPress.
5. Which are the best WordPress plugins for image optimization?
Popular plugins include Smush, EWWW Image Optimizer, ShortPixel, Imagify, and Optimole.
6. What is lazy loading, and how does it help?
Lazy loading delays the loading of images until they are visible on the screen, improving page speed and reducing initial load time.
7. How can I convert images to WebP format in WordPress?
You can use plugins like WebP Express, ShortPixel, or Imagify to automatically convert images to WebP format for better performance.
8. Does image optimization affect SEO?
Yes, optimized images improve page load speed, a key ranking factor in Google’s algorithm, leading to better SEO performance.
9. Will compressing images reduce their visual quality?
Not necessarily. Lossless compression maintains quality while reducing file size, whereas lossy compression slightly reduces quality for better compression rates.
10. How can I check if my images are optimized?
You can use tools like Google PageSpeed Insights, GTmetrix, or Pingdom to analyze image optimization and get recommendations.